07 Installation
First run & configuration
Between them these three mods expose 836 settings, which is an unhelpful number to be handed on your first launch. This page is the short list: how the panels work, the four AI presets, and the handful of settings per mod that are actually worth changing before you play.
Everything defaults to something sensible. You can also change nothing at all and it will be a good experience.
How the panels work#
All three behave the same way, which is deliberate — learn one and you know all of them.
Changes apply live
Move a slider and the result is immediate. No restart, no map reload, no apply button for most things. This is the whole reason to tune in the panel rather than the config file.
Your cursor is handled properly
Opening a panel releases the mouse so you can click. Closing it hands control straight back and re-locks the cursor to the centre of your view. Movement is frozen while a panel is open so you cannot walk off a cliff mid-adjustment.
Every setting explains itself
Each one shows its range, its default and a plain-English note on what changing it does to a match — including what it costs you. There are no undocumented knobs and no need to guess.
There is a search box
It spans every tab at once. If you know roughly what a thing is called, searching is faster than hunting through eleven tabs.
Master switch on every panel
Top-left of each panel. Off returns that entire mod to completely stock Ravenfield behaviour instantly, with no restart and nothing deleted. It is the fastest way to answer "is this the mod or is this the game".
Save writes to disk
Live changes affect the running session. Save commits them to the config file so they survive a restart. Per-tab and per-setting resets are there too.
Start with an AI preset#
564 settings is a lot of surface to find your footing on, so the AI mod's General tab has four one-click presets. Each is a complete opinionated configuration rather than a difficulty slider — they change how a battle is fought, not just how hard it is.
| Preset | What it is | Pick it if |
|---|---|---|
| Vanilla+ | Ravenfield as it should have shipped. Every bug fix on, everything that changes the feel of the AI back to roughly stock. | You want the repairs without the redesign |
| Tactical | The default experience leaned further into deliberate infantry combat. Squads bound, hold fire, spread out and manoeuvre. Slower, more positional, much harder to brute force. | You want fights that develop |
| Brutal | Straighter shooting, faster spotting, harder pushes, tight coordination, heavily weighted toward Veteran and Elite. | You want to be genuinely punished |
| Cinematic | Tuned for spectacle rather than difficulty. Loose aim, plenty of grenades and smoke, aggressive pushes, wide formations, frequent flanking. | You want big loud battles that are fun to watch |
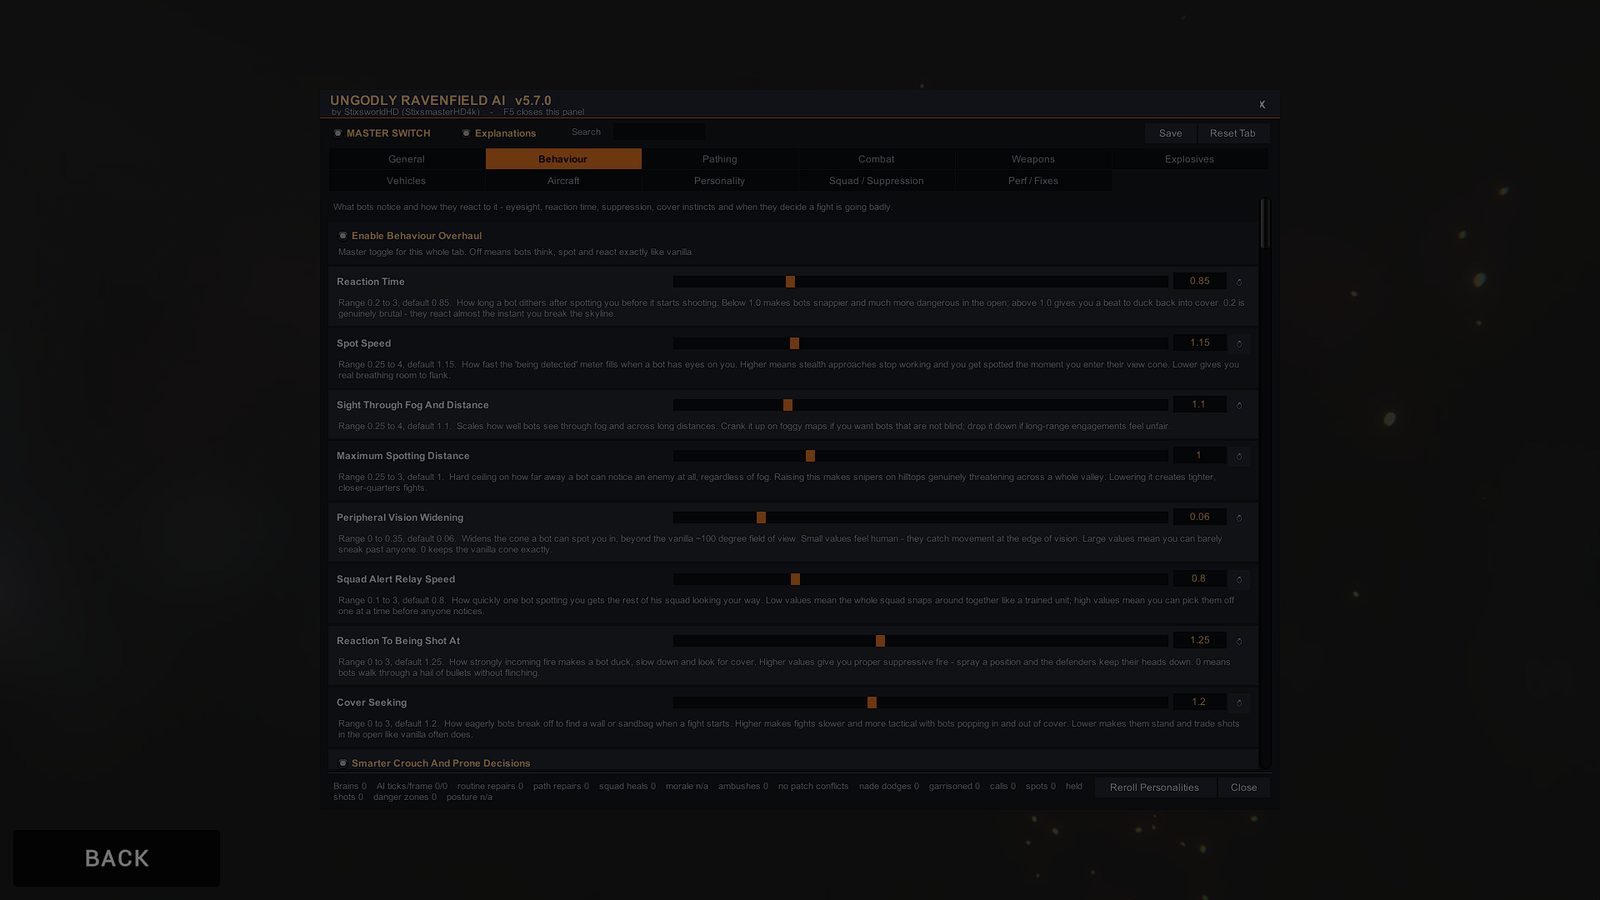
Enhanced: pick the profile that matches your setup#
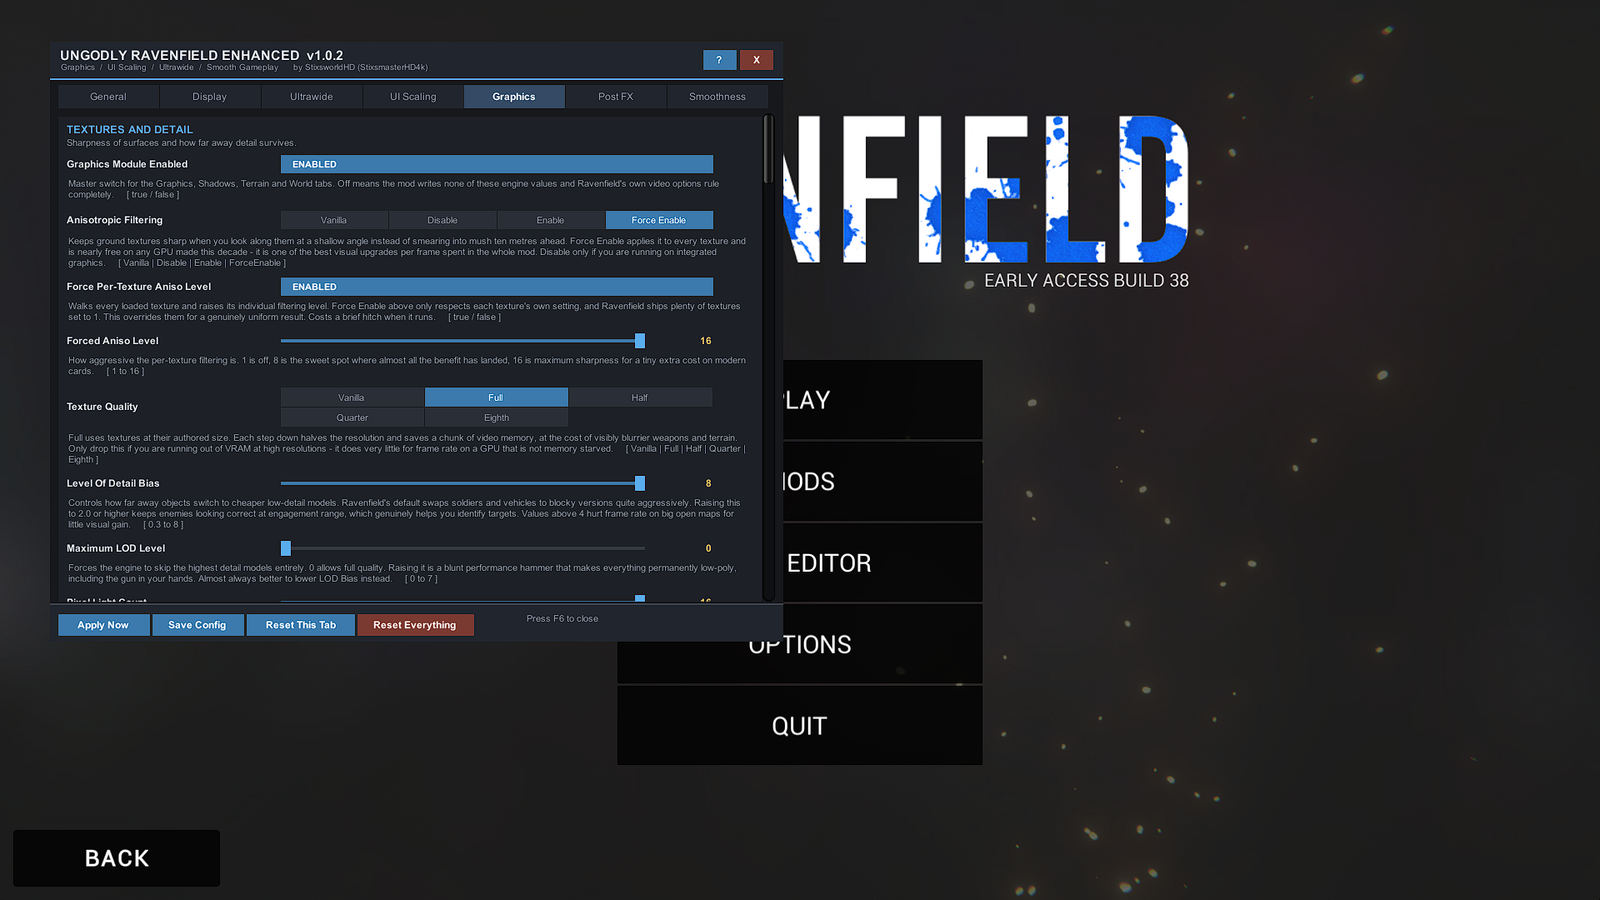
The defaults are tuned for a normal 16:9 monitor with a mid-range GPU. These four groups are the adjustments worth making if your situation is different. All of them are on the F6 panel.
If you have an ultrawide monitor#
Do this first — it is the reason the mod exists. Ravenfield treats your FOV slider as a fixed
horizontal angle and derives the vertical from your aspect ratio, which is Vert−
behaviour: a wider monitor gives you less vertical view rather than more to the sides.
The Horizontal Plus model corrects that.
| Tab | Setting | Set to |
|---|---|---|
| Ultrawide | FOV Model | Horizontal Plus (already the default) |
| UI Scaling | UI Scale Mode | Match Height (already the default) |
| UI Scaling | UI Scale Multiplier | 0.85 — pulls the oversized HUD in |
| UI Scaling | HUD Safe Zone | ON, inset 0.10 for 21:9 or 0.20 for 32:9 |
The Ultrawide tab shows you live how many degrees of vertical view you have gained over stock.
If you are chasing visual quality#
| Tab | Setting | Set to |
|---|---|---|
| Graphics | Anisotropic Filtering | Force Enable (default — nearly free, big win) |
| Graphics | LOD Bias | 2.5 |
| Graphics | Post Anti-Aliasing | SMAA High |
| Shadows | Quality / Resolution / Cascades / Distance | All / Very High / Four / 500 |
| Display | Supersampling | 1.25 if you have GPU headroom |
If you are chasing frames#
| Tab | Setting | Set to |
|---|---|---|
| Terrain | Grass Density | 0.5 |
| Terrain | Tree Mesh Distance | 120 |
| Shadows | Quality / Distance | Hard Only / 150 |
| Display | Dynamic Resolution | ON at 0.85 |
| Post FX | Bloom Fast Mode / Ambient Occlusion | On / Off |
If you want the smoothest feel#
| Tab | Setting | Set to |
|---|---|---|
| Smoothness | Max Queued Frames | One — the single best latency setting here |
| Smoothness | Garbage Collector Mode | Incremental — turns stutter hitches into an invisible per-frame cost |
| Smoothness | Frame Rate Limit | Match Refresh Rate |
| Smoothness | Physics Tick Rate Override | ON at 120 for crisper vehicles (costs CPU in big battles) |
Gore: the levers that cost you frames#
Gore has an adaptive governor that watches real frame time and quietly scales back droplets and chunk spawning when the game is struggling, then restores them when it recovers. It never touches stains, corpses or pools — only the expensive moving parts. So you can set aggressive values for normal play and trust it to back off during an artillery strike, rather than having to tune for the worst case.
If you still need to claw frames back, in order of effectiveness:
- Maximum blood drops in flight (Performance) — the single biggest lever.
- Droplet collision interval (Performance) — set to
2. Almost invisible, and it halves the largest per-frame cost the mod has. - Blood detail distance (Performance) — lower it on large maps with fighting on several fronts.
- Surface fit checking (Permanence) — already defaults to
Fast;Offis cheaper again. - Chunks from a burst body and Explosion blood multiplier — the two most likely to spike during a single dramatic moment.
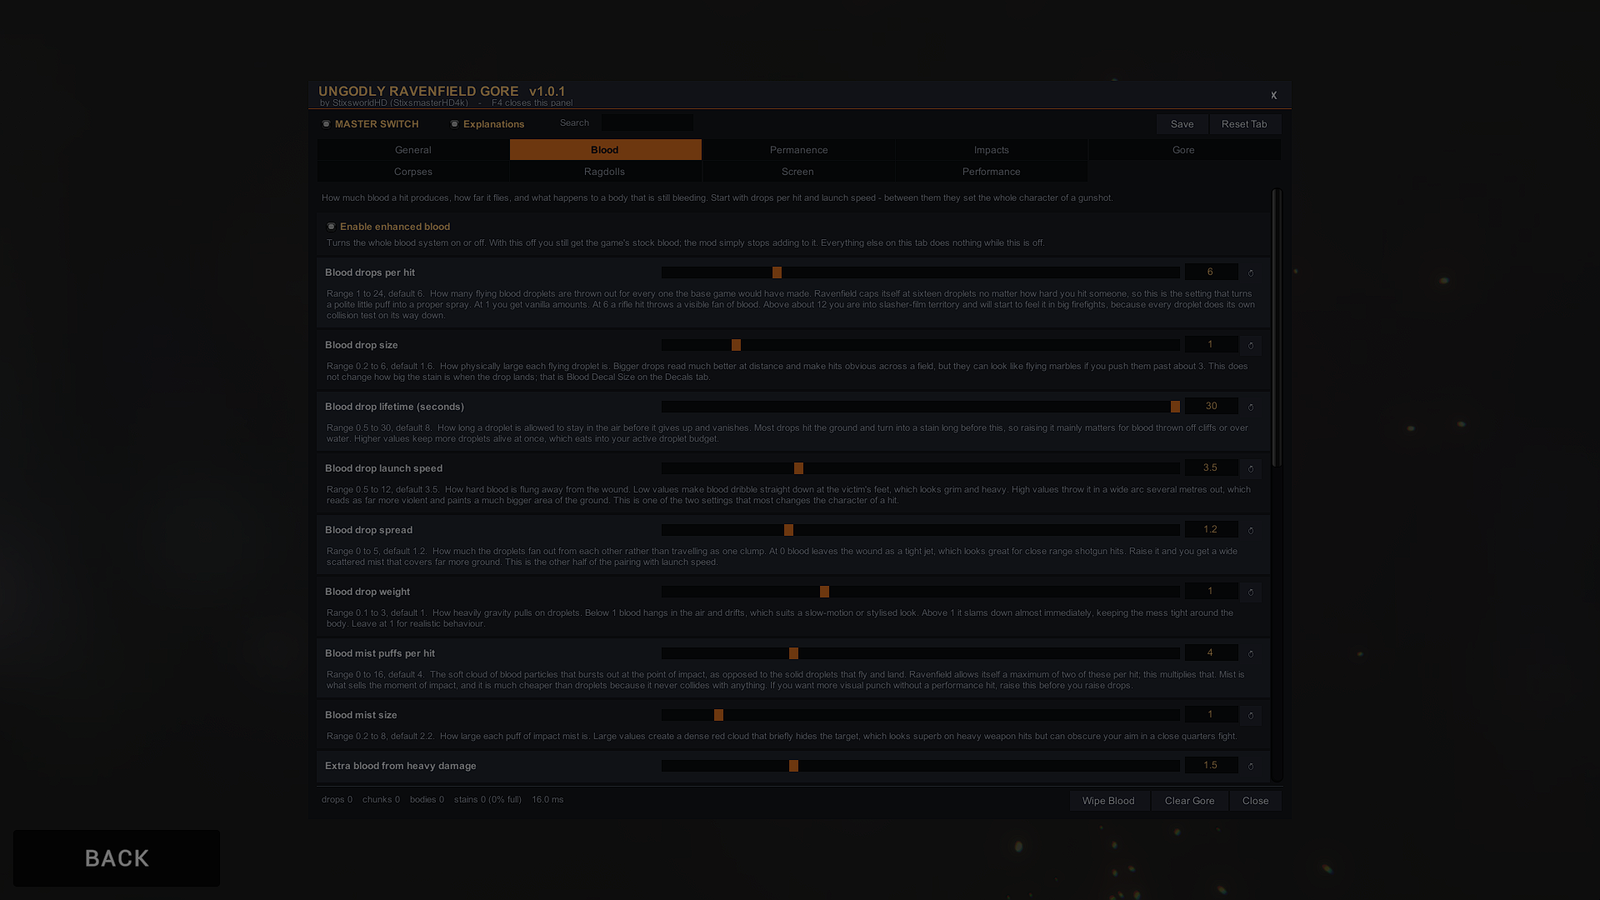
Going the other way, the two settings that most change the character of a hit are Blood drops per hit and Blood drop launch speed on the Blood tab. Between them they take a gunshot from a polite little puff to a proper spray.
Editing the config files by hand#
The panels are quicker for tuning, but the files are the right tool for two jobs: copying a setup between machines, and reading through everything a mod can do without clicking through eleven tabs.
F:\SteamLibrary\steamapps\common\Ravenfield\BepInEx\config\
  BepInEx.cfg                                        the loader
  UngodlyRavenfieldAI.cfg                            F5 panel
  UngodlyRavenfieldGore.cfg                          F4 panel
  com.stixsworldhd.ravenfield.ungodlyenhanced.cfg    F6 panel
They are ordinary INI-style text. Every entry carries its description, its type, its default and its permitted range as comments directly above it, so the file is readable on its own:
## How long a bot dithers after spotting you before it starts shooting.
## Below 1.0 makes bots snappier and much more dangerous in the open; above 1.0
## gives you a beat to duck back into cover. 0.2 is genuinely brutal.
# Setting type: Single
# Default value: 0.85
# Acceptable value range: From 0.2 to 3
ReactionTime = 0.85Rebinding the hotkeys#
If another plugin has claimed F4, F5 or F6, or you simply want
them somewhere else, every panel has the binding on its General tab. In the config files the
setting is called ConfigMenuHotkey in all three, and it accepts any key name.
Read up on each mod#
That is everything you need to play. The three pages that follow go deeper into what each mod actually changes, if you want to know what you are looking at.